FreeScout is really nice if you're looking for an email support system!
There are paid modules, BUT you can really do without them completely. It is completely functional and efficient without the modules. I tested it extensively, it's really great!
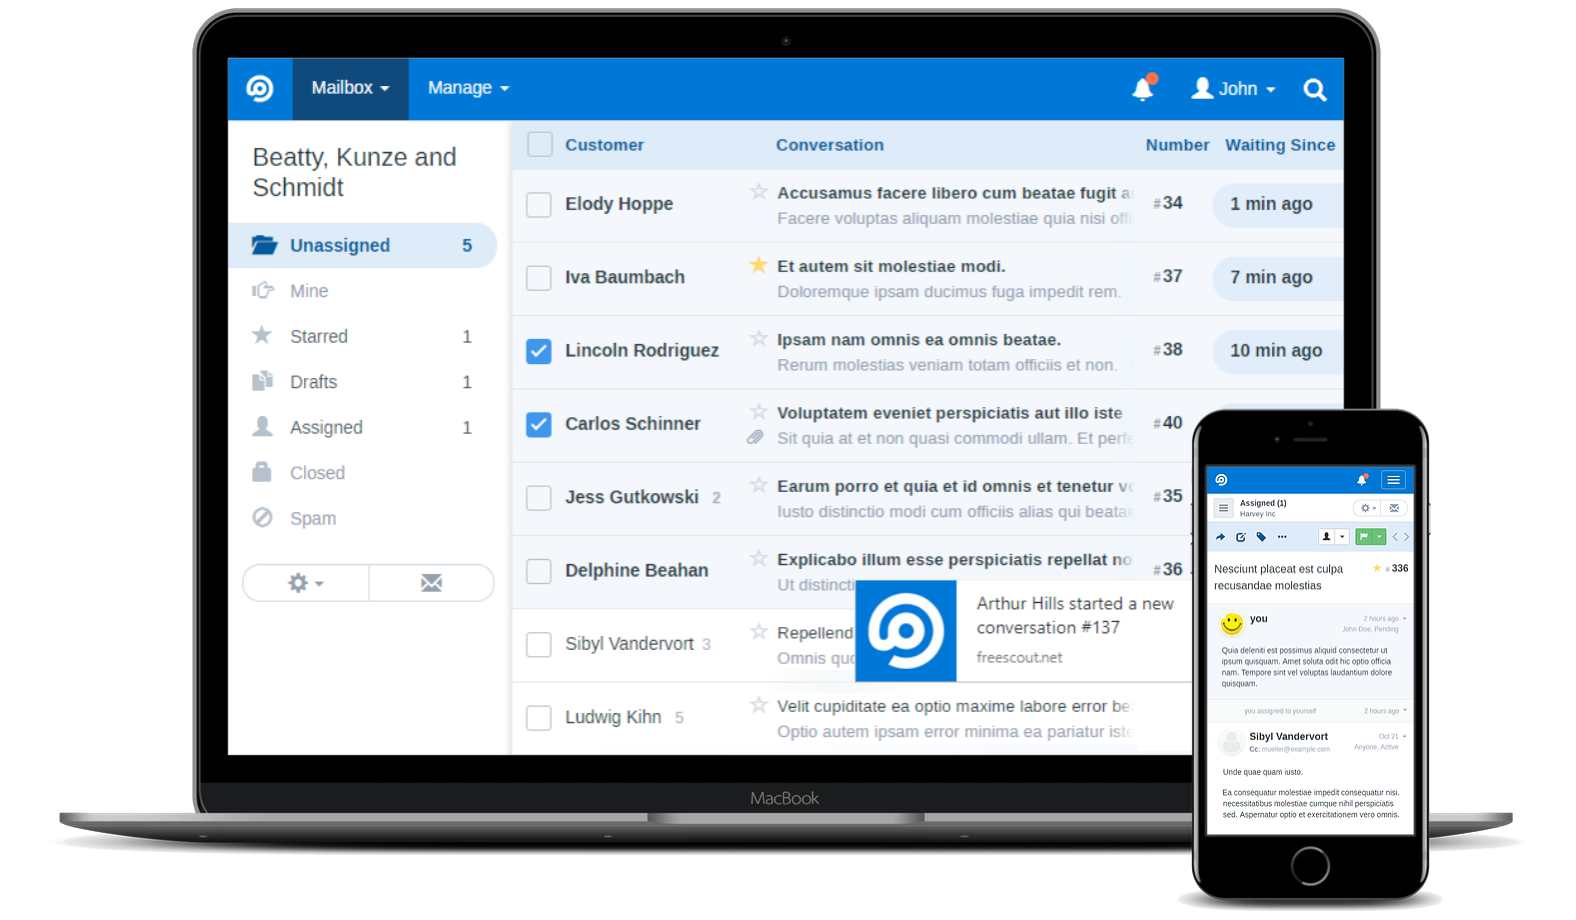
FreeScout is an ultra lightweight and powerful free open source help desk and shared inbox written in PHP (Laravel framework). It is a self-hosted clone of HelpScout. Now you can enjoy Zendesk and Help Scout for free without giving up your privacy or locking yourself into a service you don't control.
⚡Features
- Unlimited number of support agents, tickets, mailboxes, etc.
- 100% mobile friendly.
- Multilingual: English, Chinese, Croatian, Czech, Danish, Dutch, Finnish, French, German, Italian, Japanese, Korean, Norwegian, Persian, Polish, Portuguese, Russian, Spanish, Slovak, Swedish, Turkish.
- Seamless email integration.
- Support for Microsoft Exchange Modern Authentication.
- Web installer.
- Conversations marked with an asterisk.
- Notifications push.
- Followed by a conversation.
- Automatic responses.
- Internal notes.
- Transfer conversations.
- Merge conversations.
- Moving conversations between mailboxes.
- Telephone conversations.
- Sending conversations to multiple recipients at once.
- Collision detection - a notice is displayed when two agents open the same conversation.
- Automatic refresh of the conversation list without the need to reload the page.
- Pasting screenshots from the clipboard into the reply box.
- Flexible notifications for user agents.
- Track open conversations.
- Editing/hiding threads.
- Research.
Installation
You will need to use either Cosmos Cloud (recommended) or NPM , to name a few, to manage your SSL certificate. You are free to use another method.
Create your docker-compose.yml:
Paste that in, taking care to adapt the port and volumes according to your configuration:
Be sure to change the following:
SITE_URL=http://freescout.example.com => replace http://freescout.example.com with your domain.
[email protected] => replace [email protected] with your email which will be your administrator account.
ADMIN_PASS=freescout => replace freescout with your administrator account password.
TIMEZONE=Europe/Brussels => replace Europe/Brussels with your timezone.
ROOT_PASS=password => replace password with a strong password.
We install the application:
or with docker-compose V2:
Go to ip:port, following the IP of your local server and the chosen port, 8447 by default:
Or your domain:
Language settings
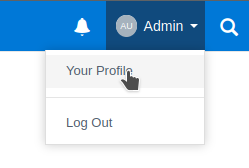
Go to the top right and click on Admin , Your Profile :
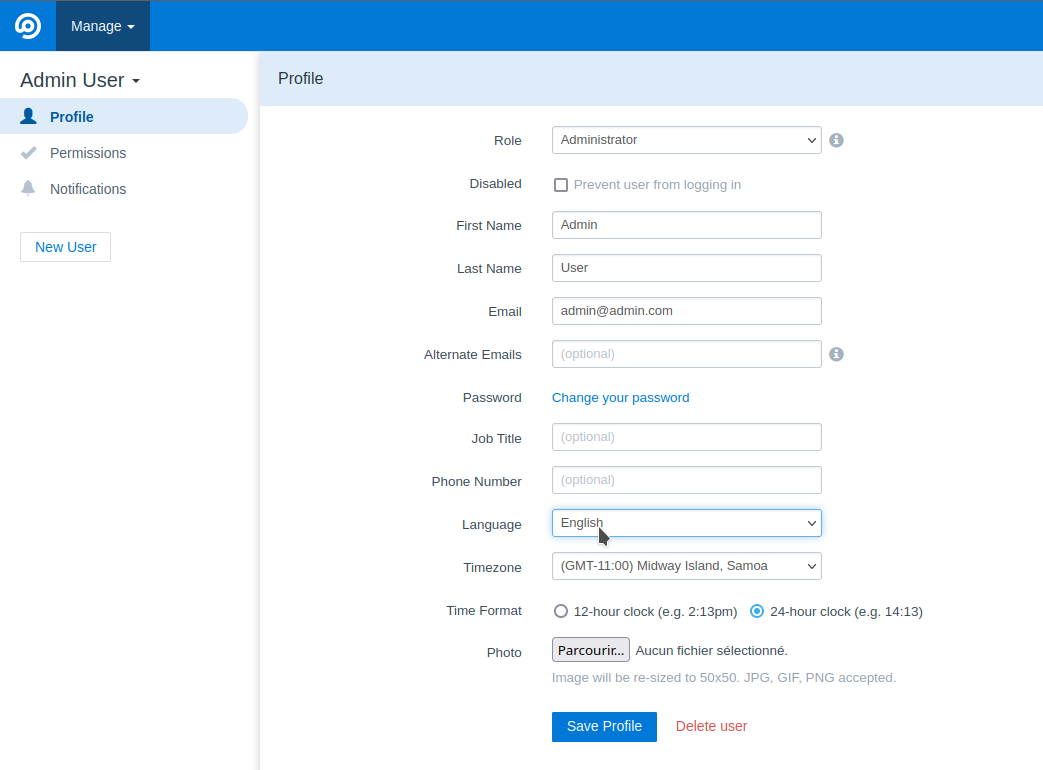
In Language , choose the desired language, validate with Save Profile :
Email settings (mail server)
Go to Manage , Settings , Email Settings ;
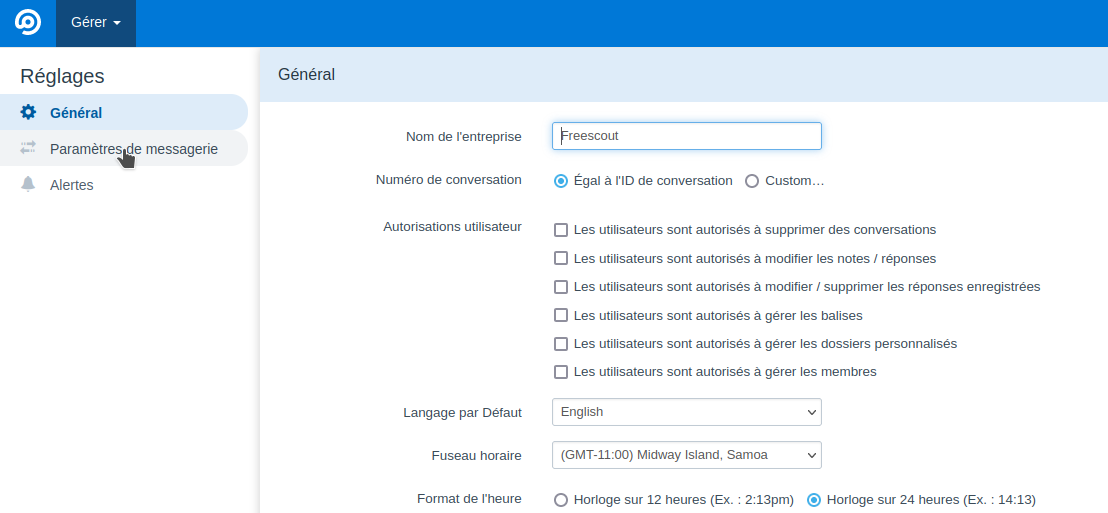
I'll give you the example for Gmail, but it works with all mail servers:
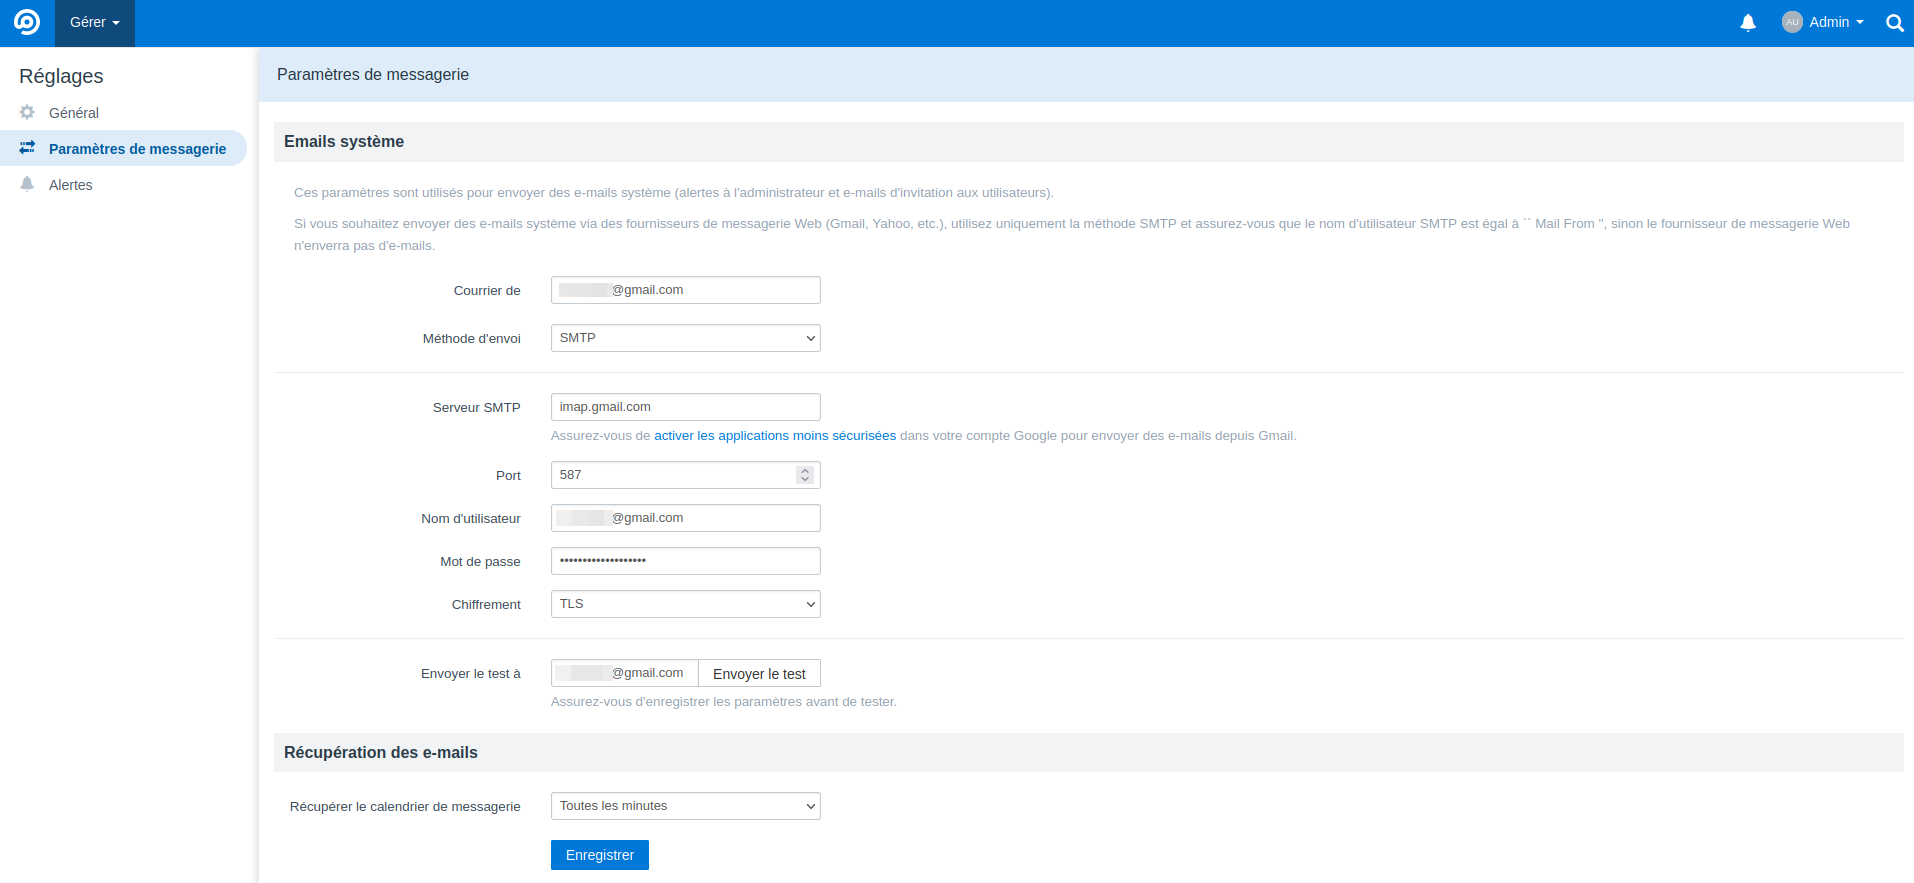
Mail from => enter your Gmail address
SMTP server => imap.gmail.com
Port => 587
Username => enter your Gmail address
Encryption => TLS
Password => then for the password, with Gmail it's no longer necessary to put your real password in a third-party application. They implemented a system to create a different password for a third-party application.
I explain it here , from Activate double authentication on your Gmail account to Copy and keep your password, then validate with OK .
When you have the dedicated password, put it in the form. And a little advice, write it down carefully for the future.
Send the test to => choose an email to receive the test email.
Once all the information is completed, you must Save before sending a test email.
Now, we test sending an email to make sure it works:
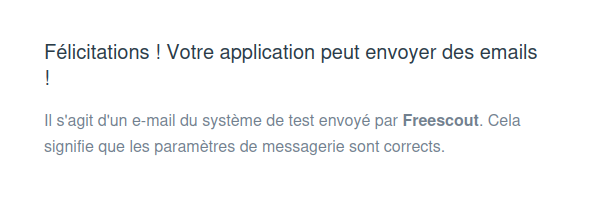
It's good, everything works fine on the mail server!
Add an inbox
So here we get to the heart of the matter!
To provide support you will need an email where the person contacts you. Either you use the same email as the one we have just configured or you can add a specific email like: [email protected]. In any case whatever your choice, you must add an email for receipt and sending.
Click Manage Inboxes :
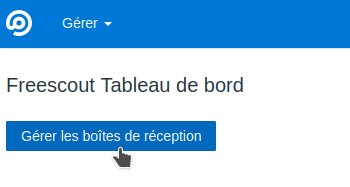
Then click on New inbox :

So you will add the Gmail email in Email address and in Mailbox name , a name so that you can easily identify it. Validate with Create an inbox :

You will therefore arrive on this page once the email has been added, adjust as you wish and once finished, click Save :
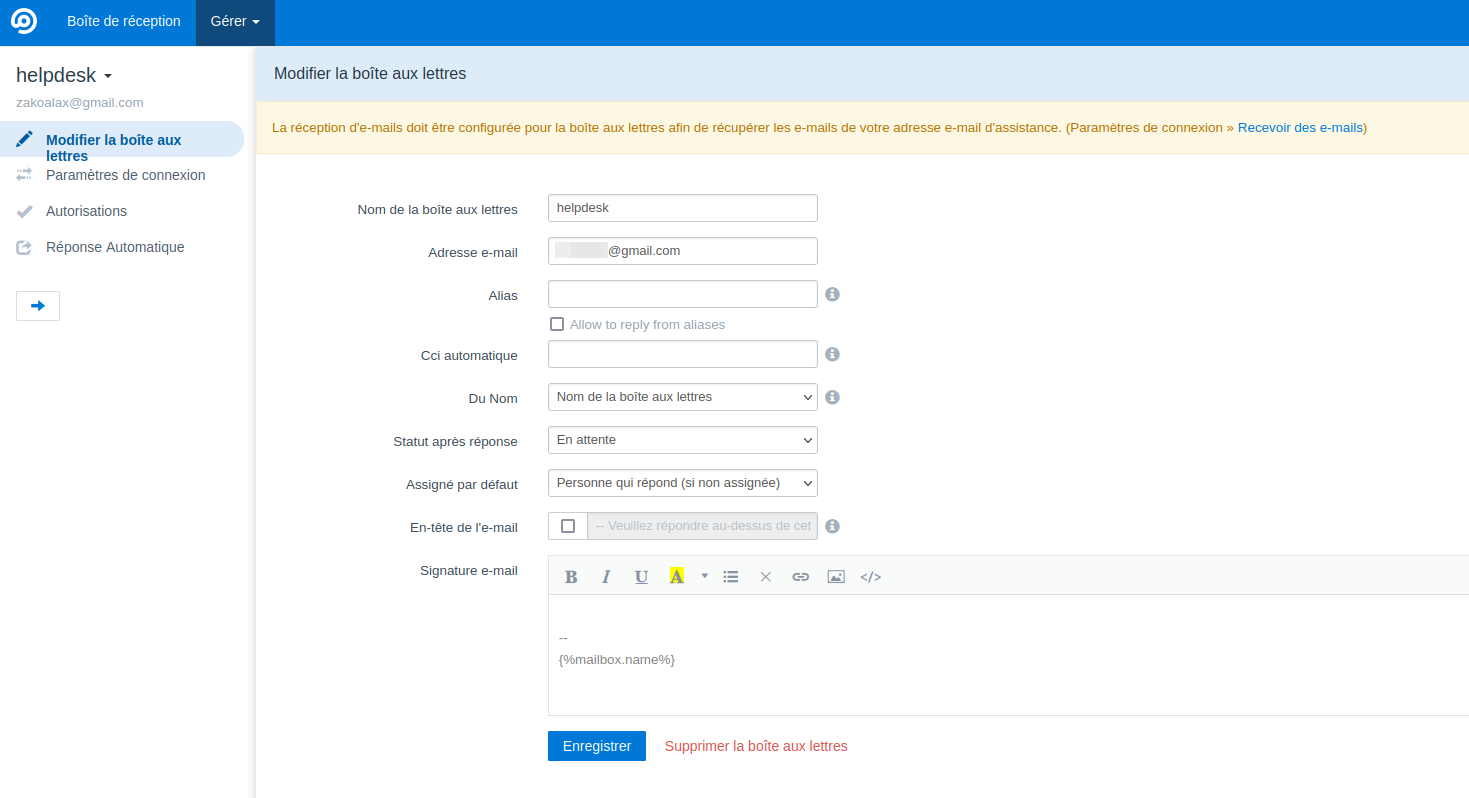
Go to Connection Settings :

Check SMTP and complete the settings as we did above in the Email settings (mail server) section. Whether it's Gmail or another, it doesn't change anything in the settings.
Except the email and password may change if you do not take the same email as the mail server. Of course.
Once you have completed the information, validate with Save preferences :
Now, still in the Connection Settings tab , but this time in the Email Retrieval part , there is a very small change, it is port 993.
Everything else is the same, once you have finished entering the information, click Save preferences :
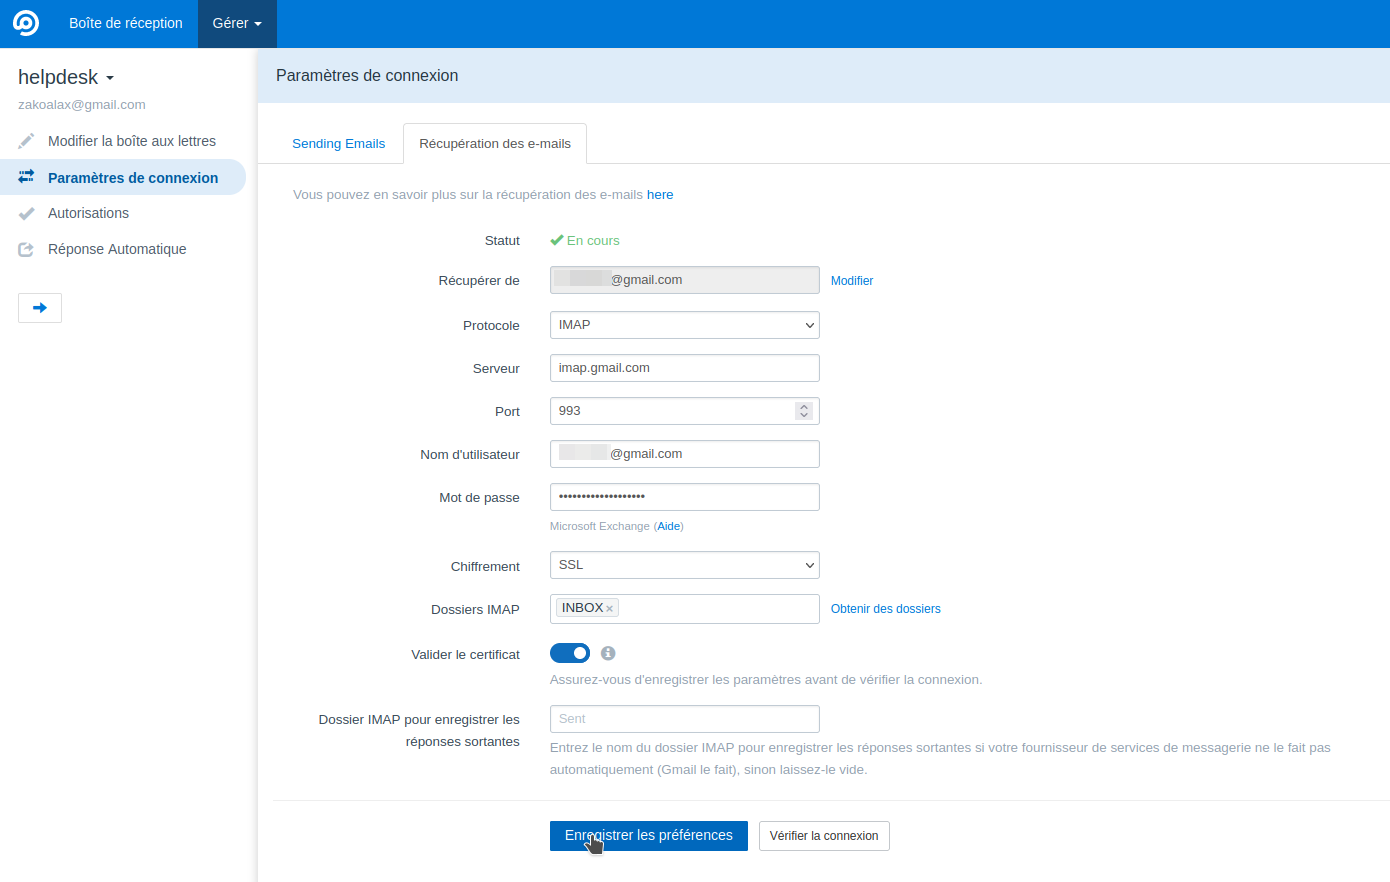
You can optionally Check the connection and if everything is fine, at the top you will have this message:

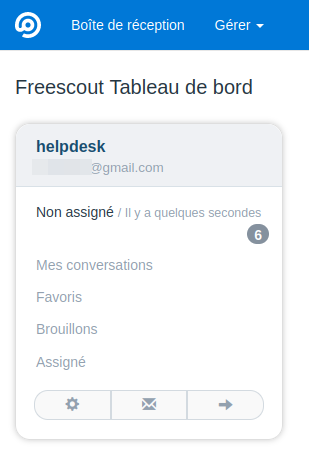
Now return to the main dashboard by clicking on the logo at the top left. We can see that the workspace is ready:
Customer support itself
Now that everything is settled, let's see how to make support.
I sent myself an email with another address and in the inbox, you can see the email: Hello with the message Yup!

So I'm going to take care of this person and take charge of their great message by checking the email and then in the middle you click on the icon with the head and you assign management to yourself by clicking on You . The email will disappear from the inbox list.

It's gone from the inbox but it's in My Conversations . So click on the email:

And you can reply to the email by clicking on the blue arrow:

Type your message and click Send Reply :
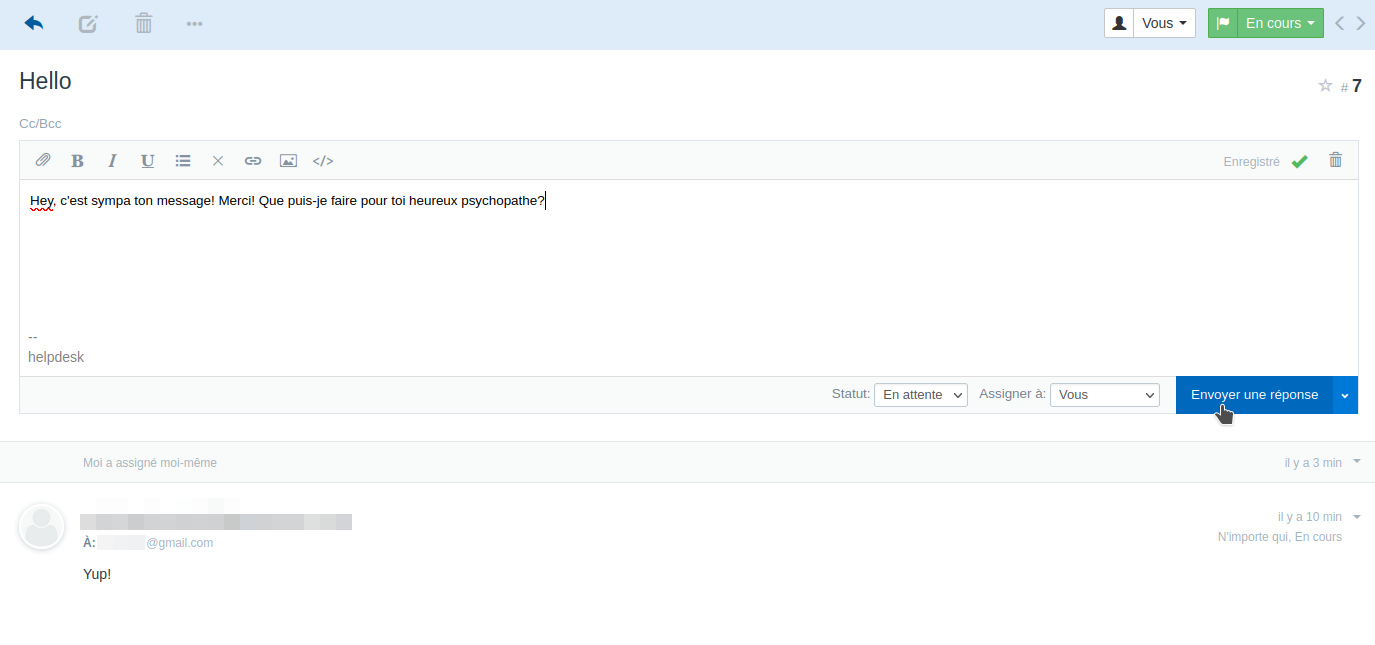
From now on, and until you decide to end the conversation, everything will happen here:

For the rest of the options, I'll let you discover them but I have covered in this article the more technical aspects to make everything work. The rest is very intuitive.

